|
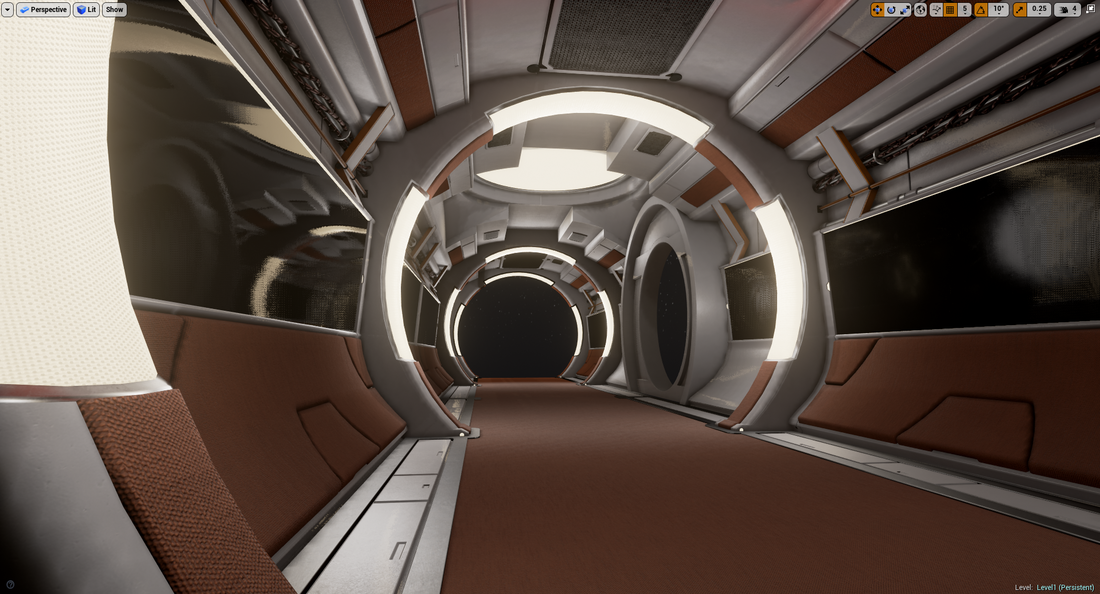
So the last few months of my life have been pretty hectic, but I finally got a spare(ish) day to finish off this project. There is a ton more stuff I'd like to do with this but this seems like a good place to end. Here are my final renders!
0 Comments
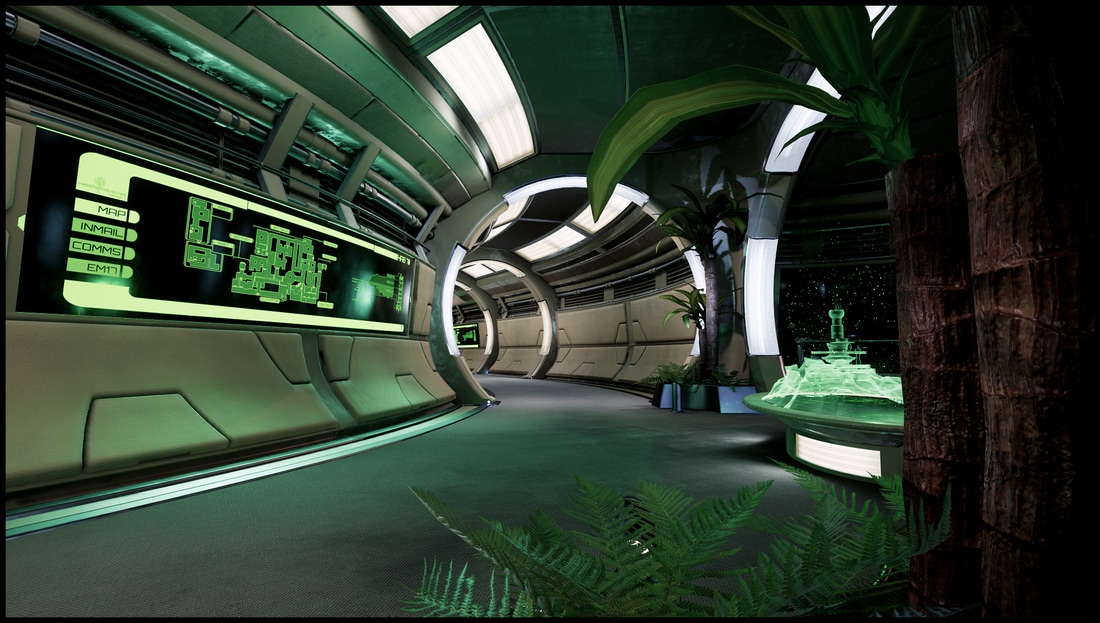
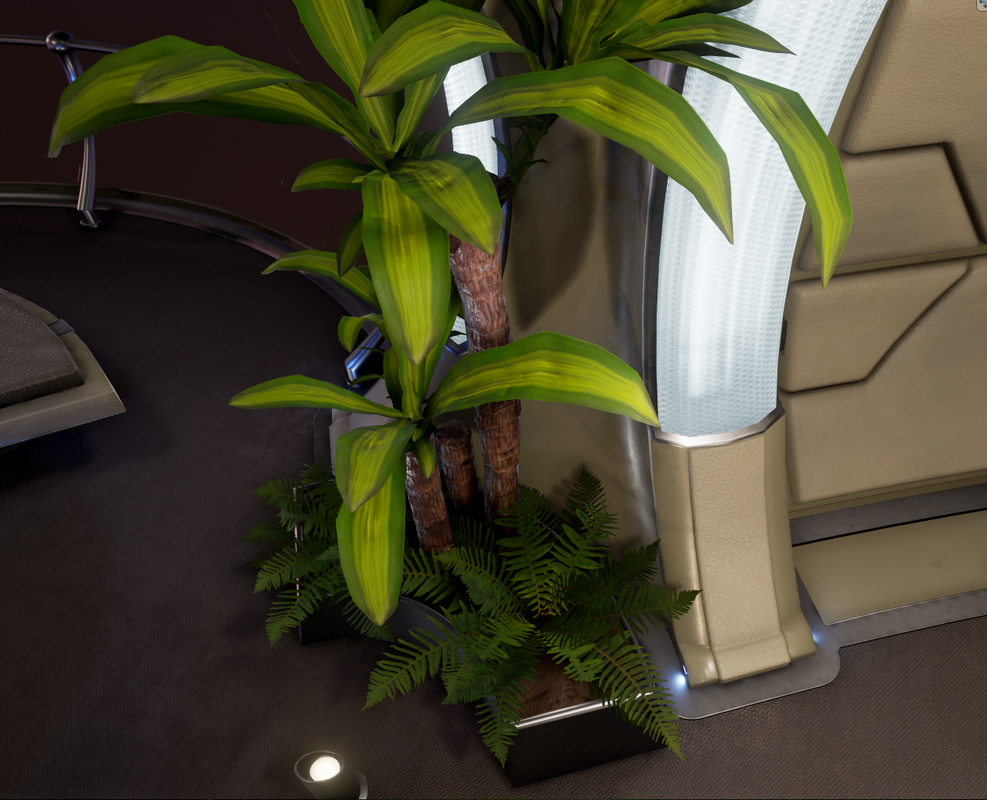
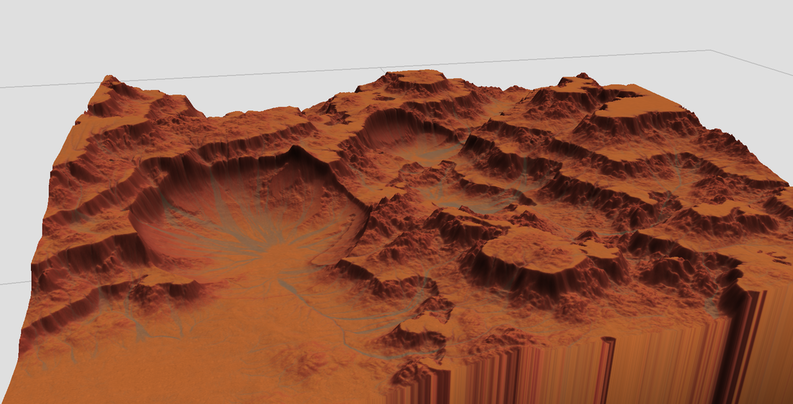
I decided to spend the day sprucing up the same area that I was working on yesterday. There is one part of the environment that I've never thought looked as though it was realistically manufactured. I should probably go back and remodel it but I just can't face working on that bit of geometry any more, so instead I've decided to stick a plant in front of it. There is nothing particularly interesting about the way that the plants are made, other than perhaps the trunk of the big Yucca. This is actually a house plant we have in our living room and the trunk was captured with photogrammetry. Everything else is from photos (the ferns were in the garden). So today was spent photographing, scanning and assembling. After putting the plants in I decided to add some up-lighters on the floor underneath them to cast interesting shadows on the wall and make the plants 'pop' a little more. They're a major health and safety hazard but who cares, they look pretty! I'm now 2 days over what I said I would spend on this. To be fair a lot of this can be put down to adding extra stuff like the landscape and plants. That said I'm worried that the timescale for this is getting out of hand, so I've created an itemised list of everything I need to do to finish the environment. I'm going to diligently keep to this before getting carried away with adding anything else:
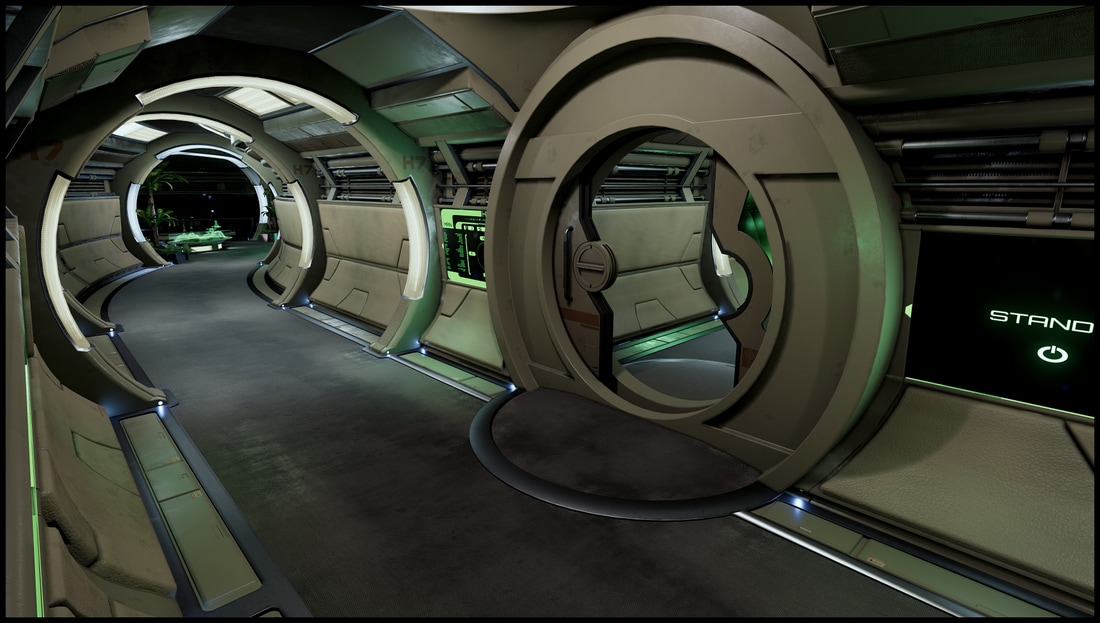
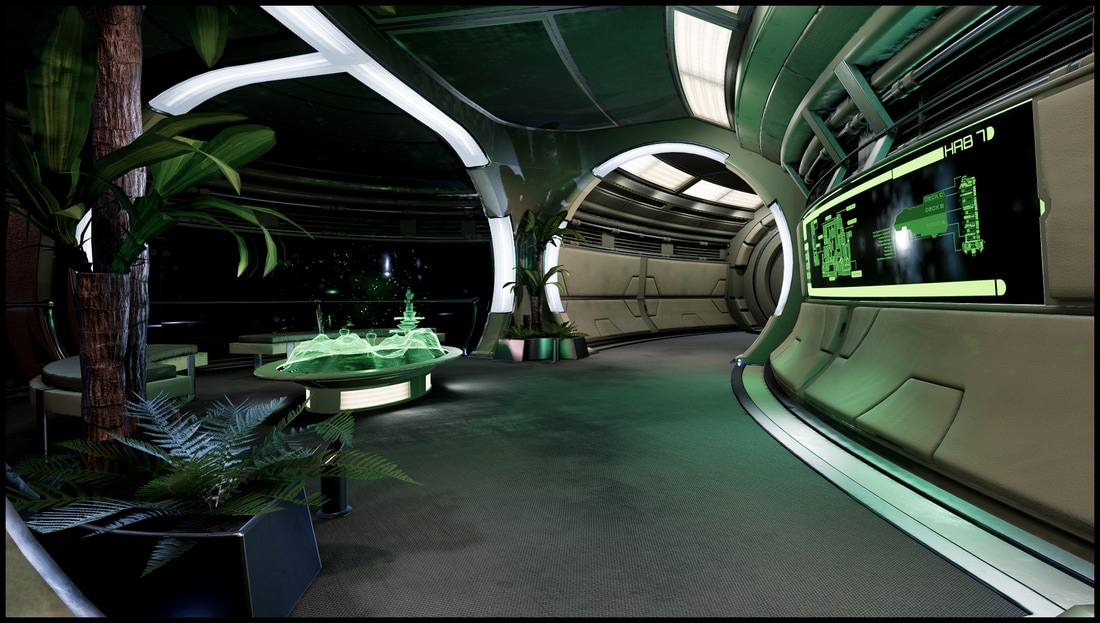
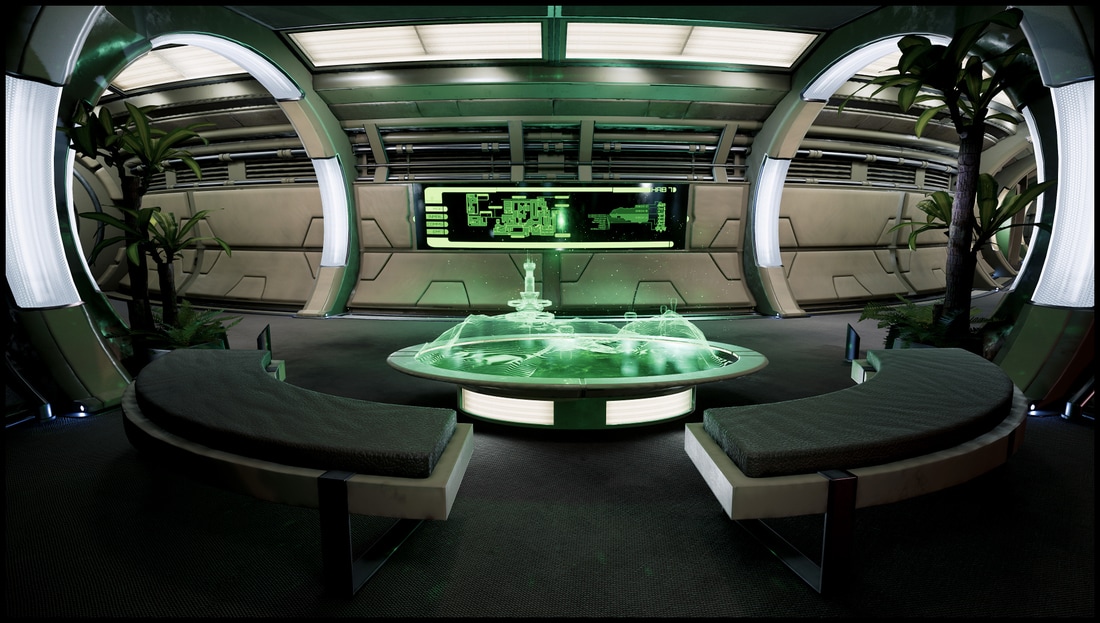
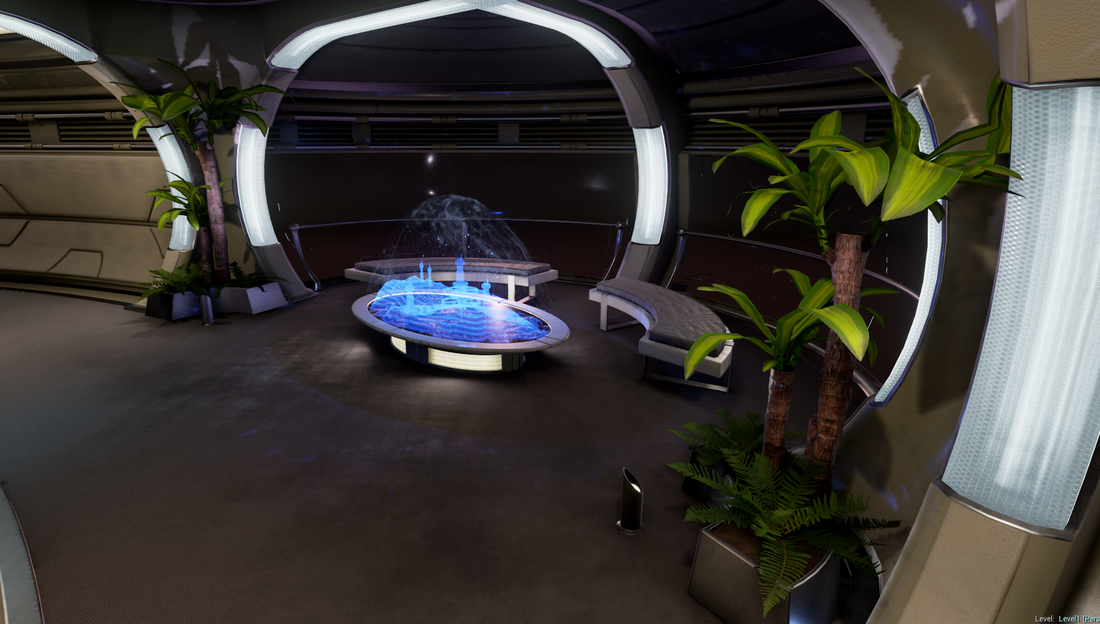
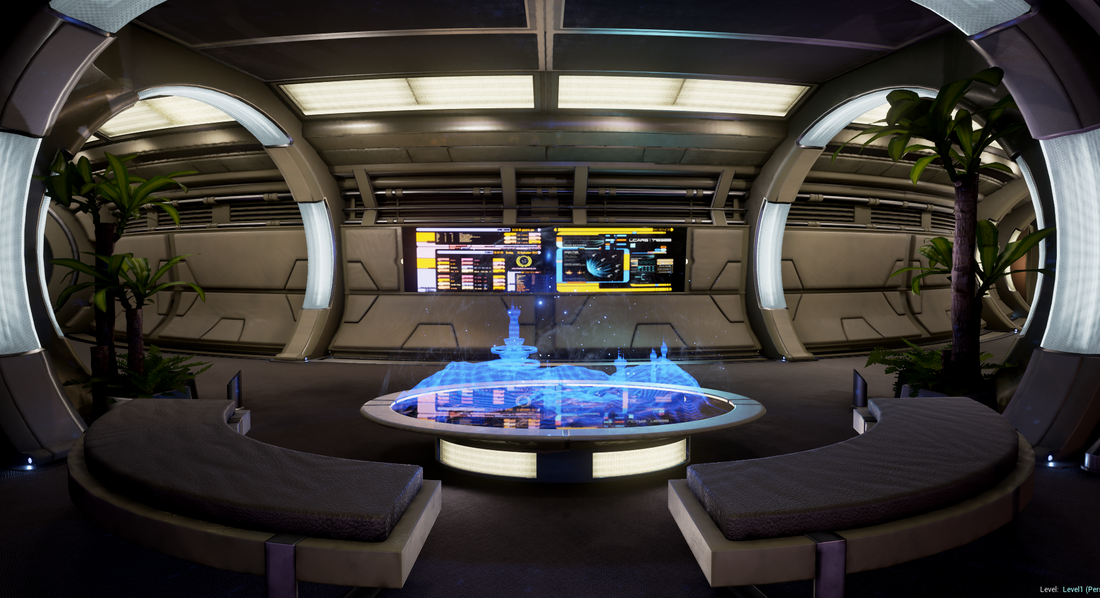
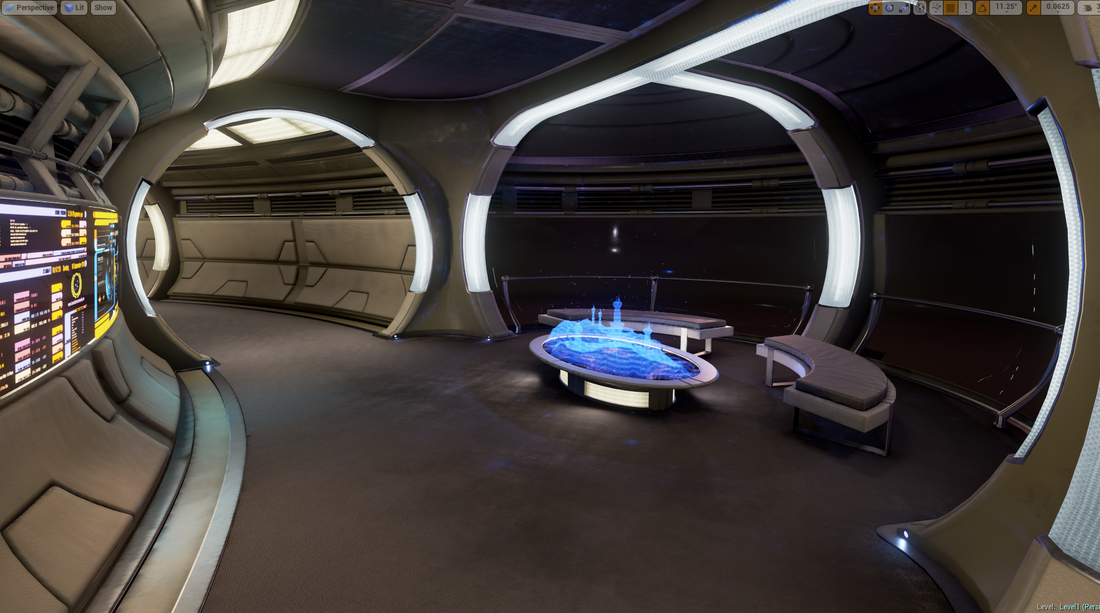
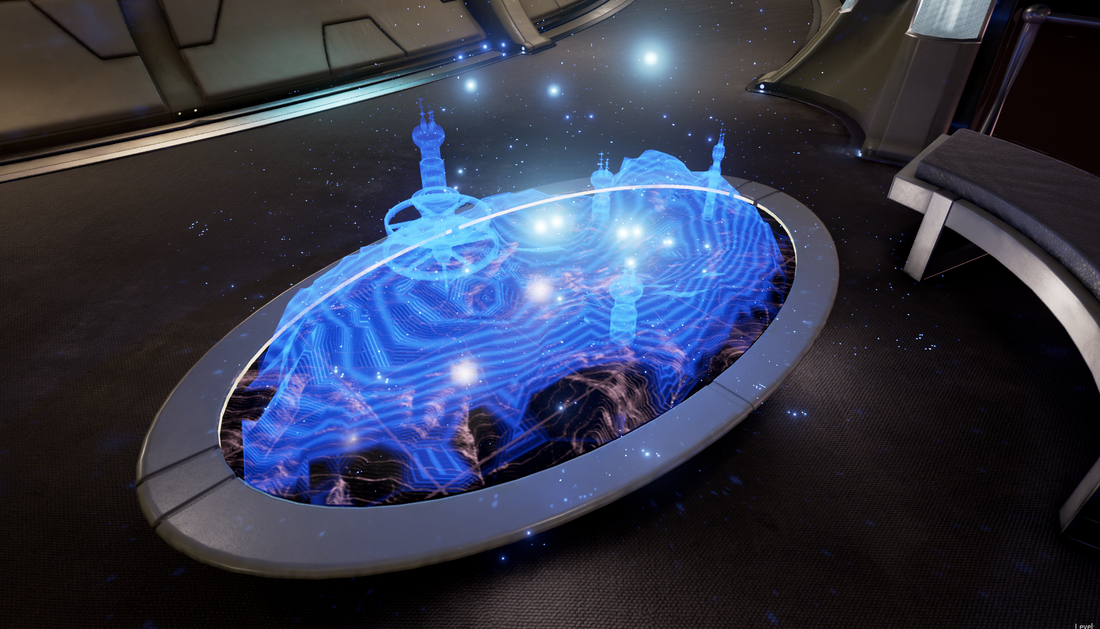
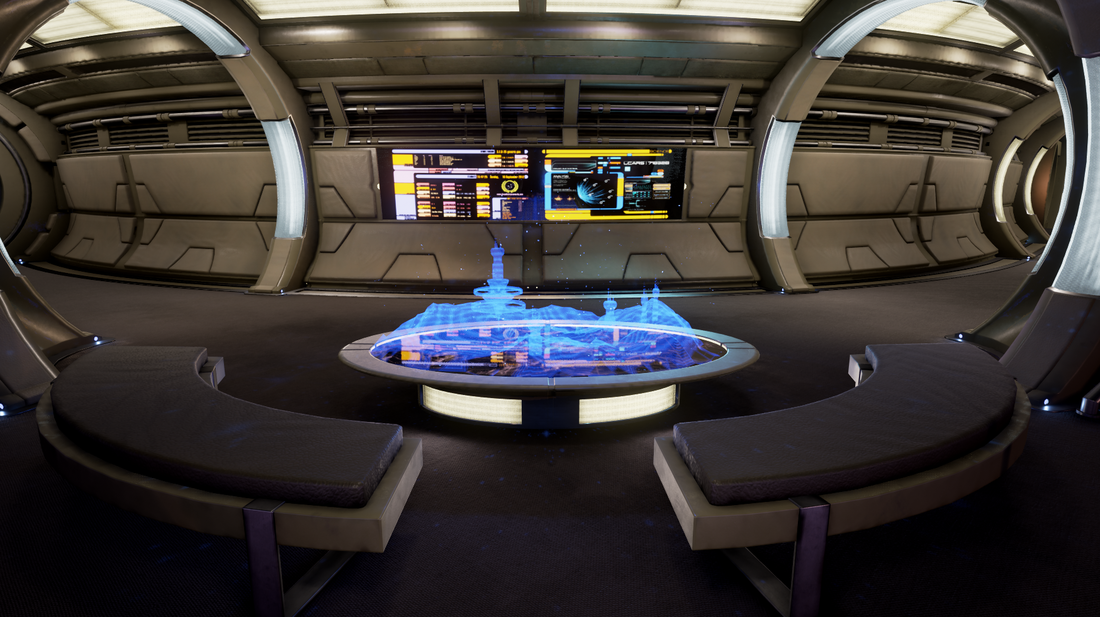
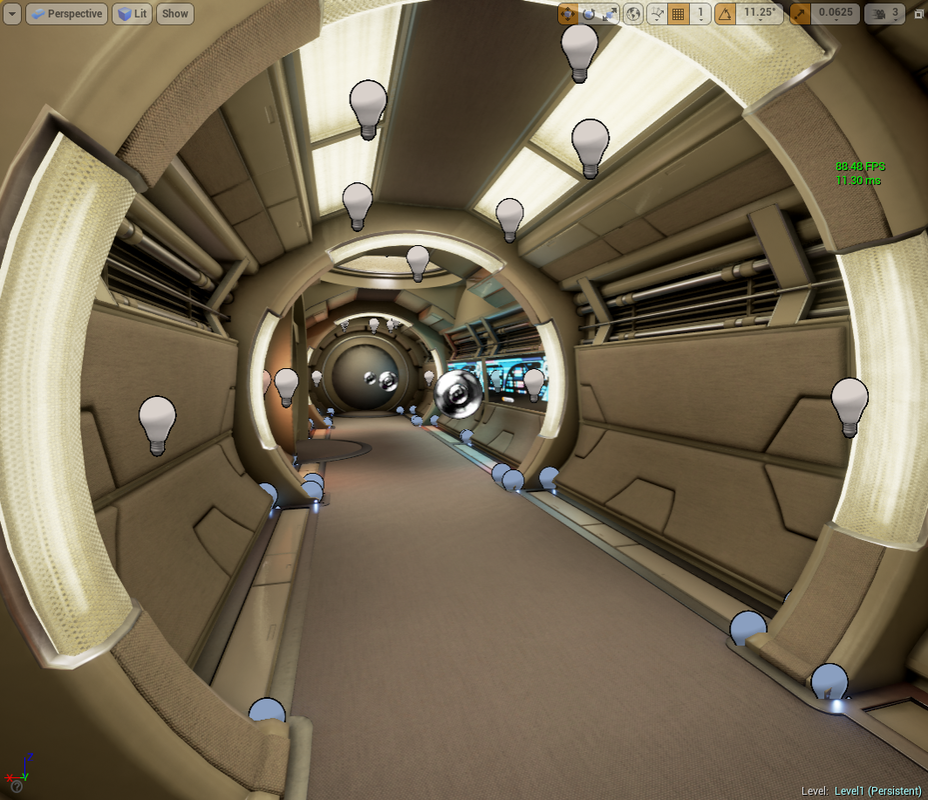
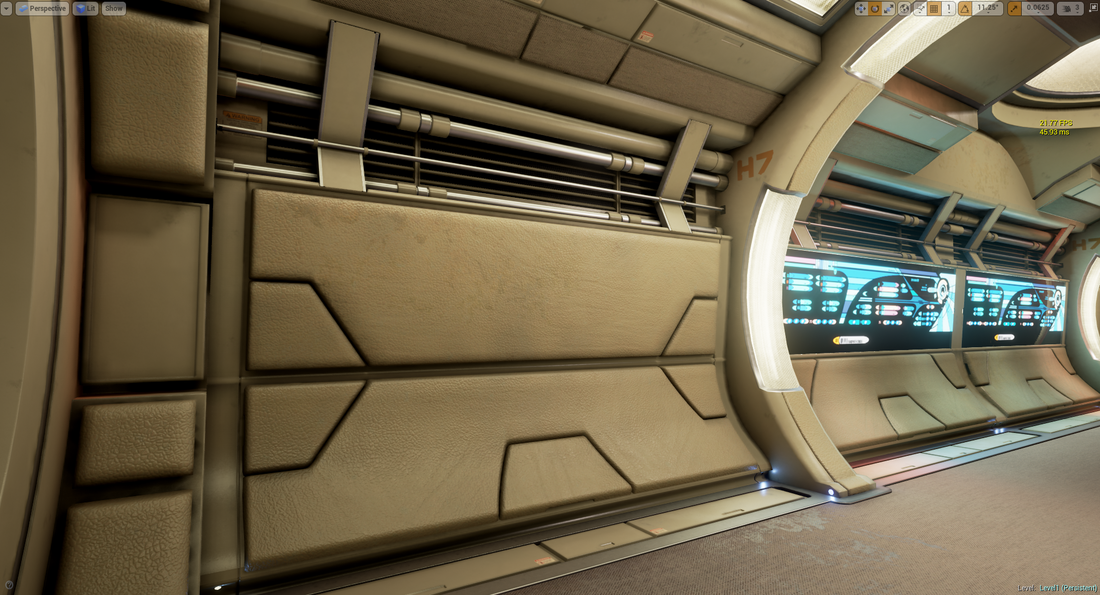
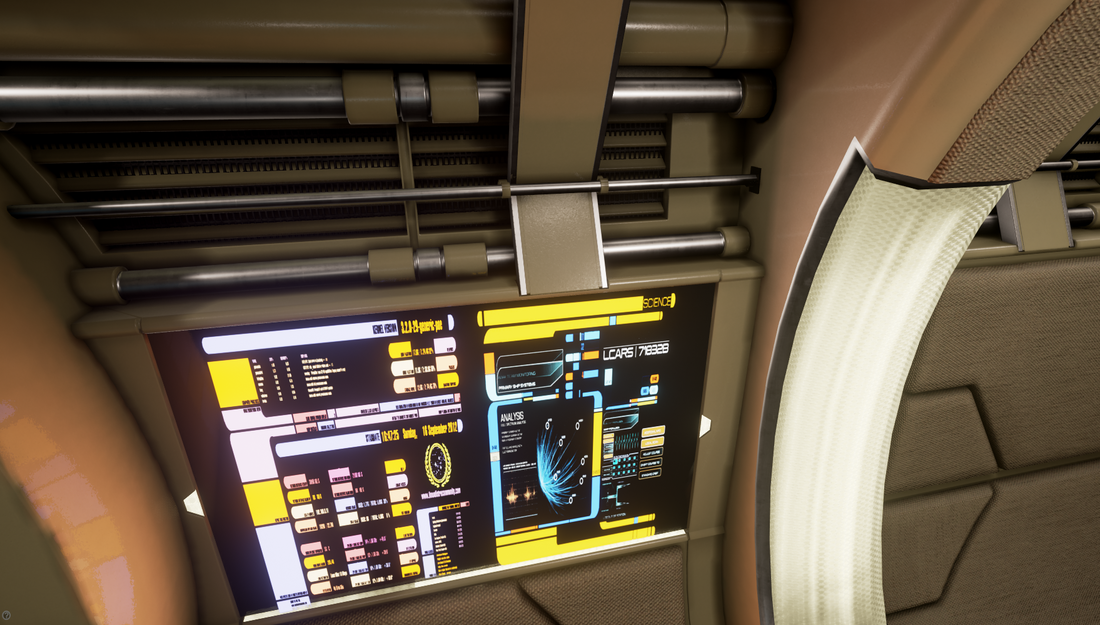
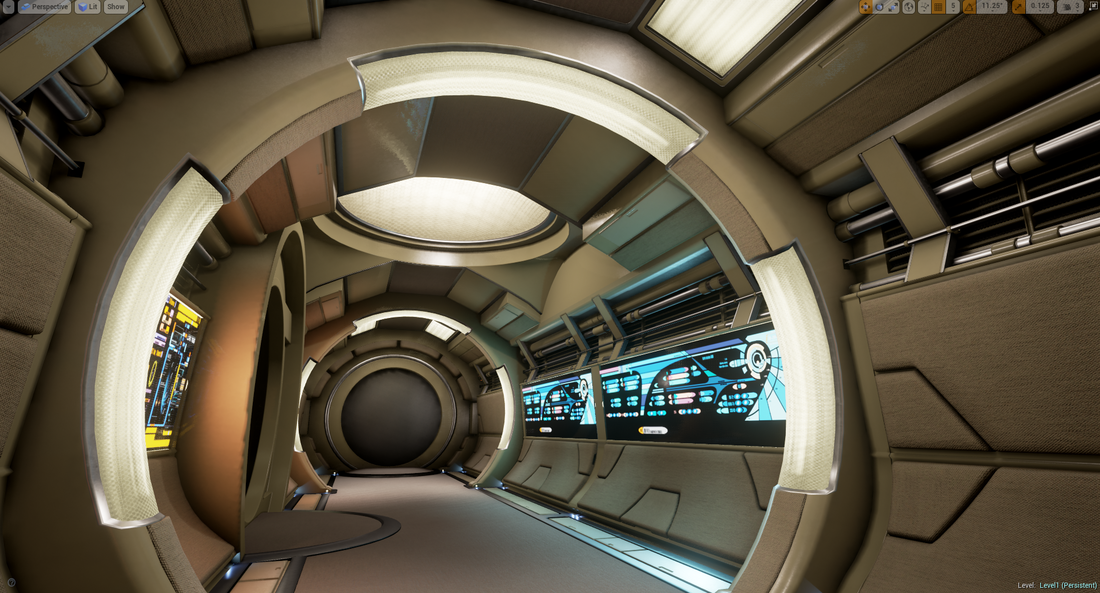
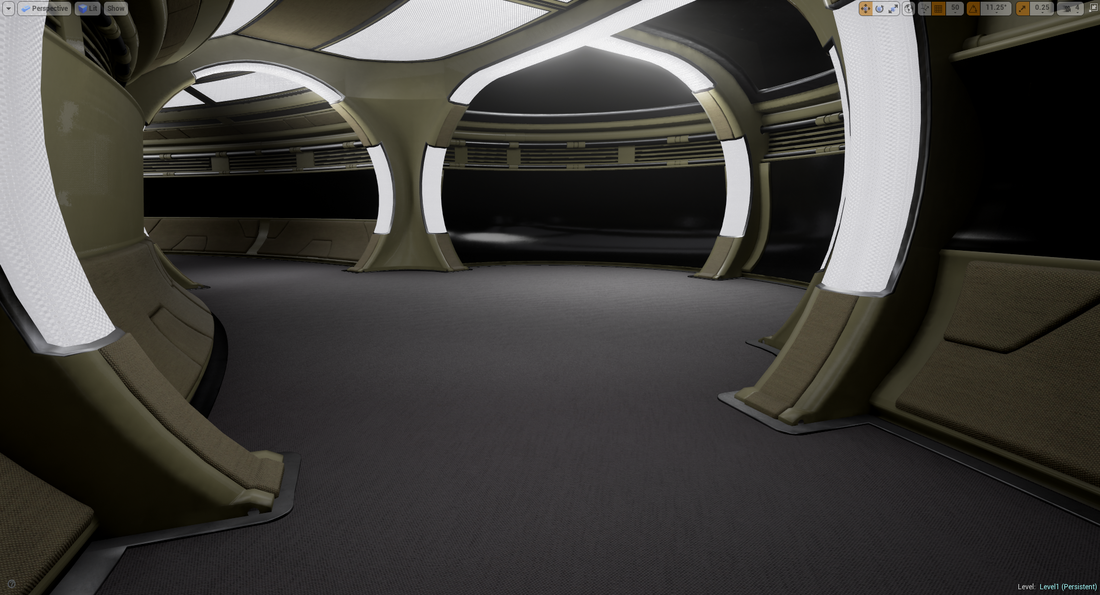
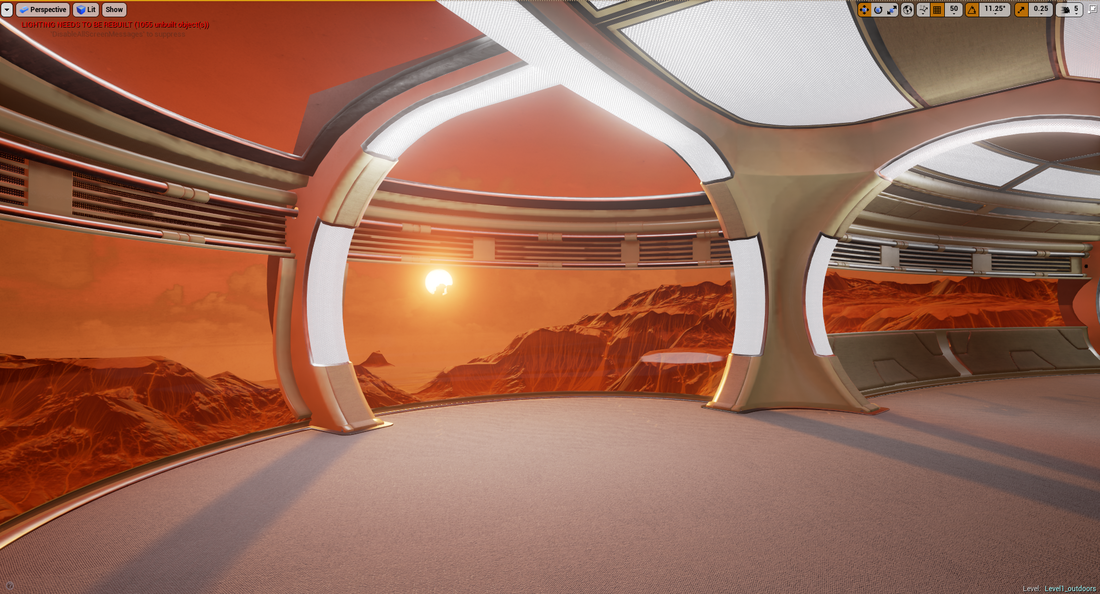
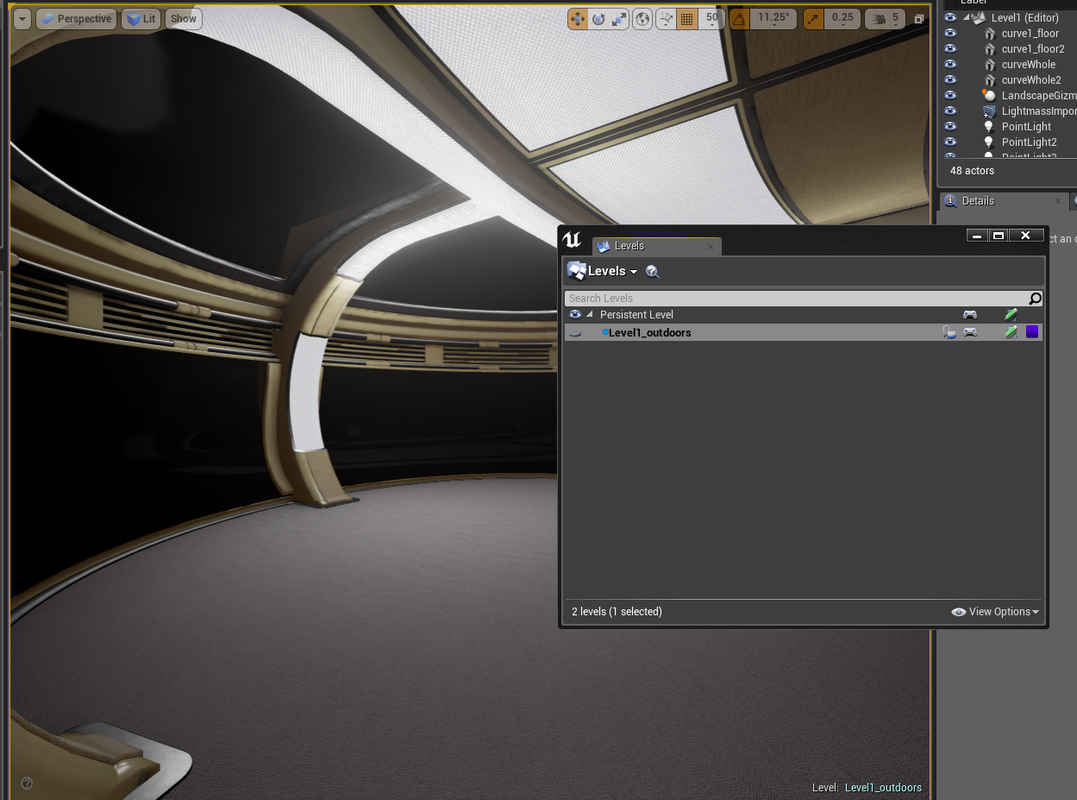
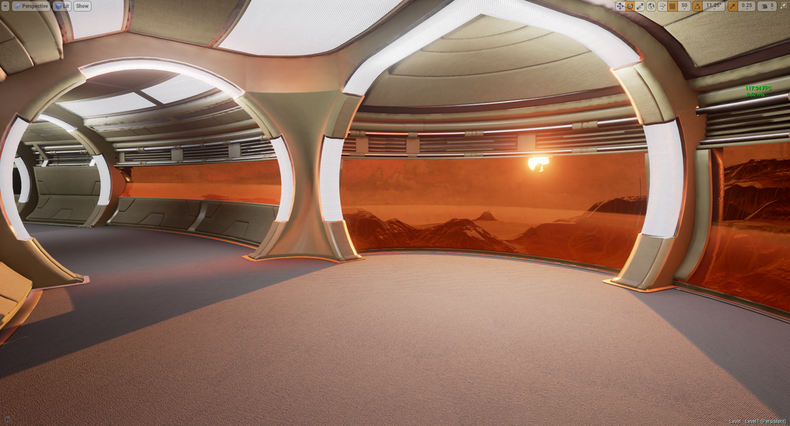
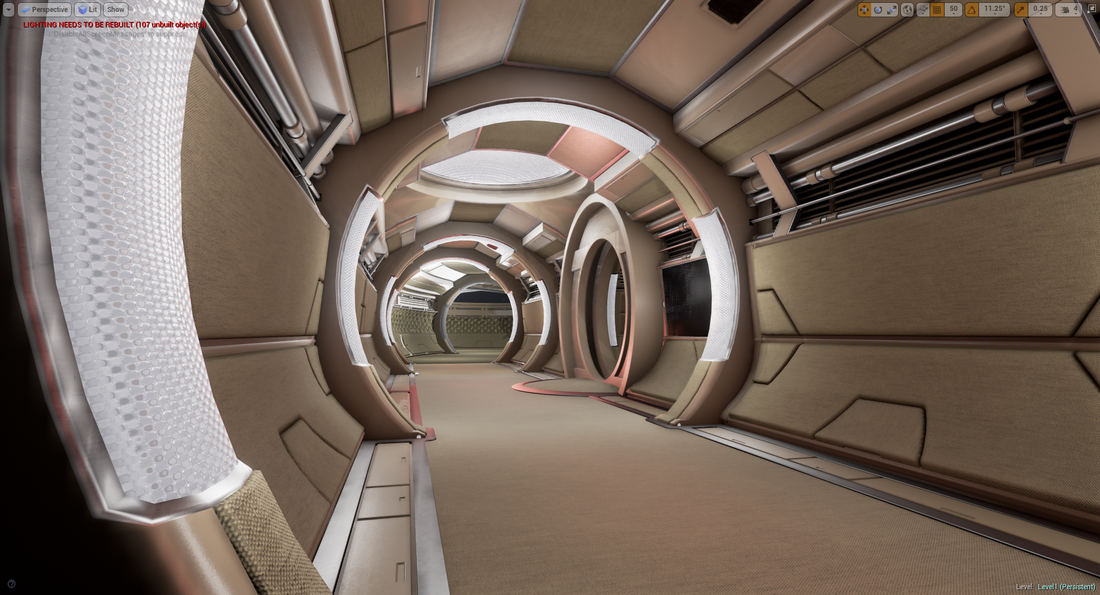
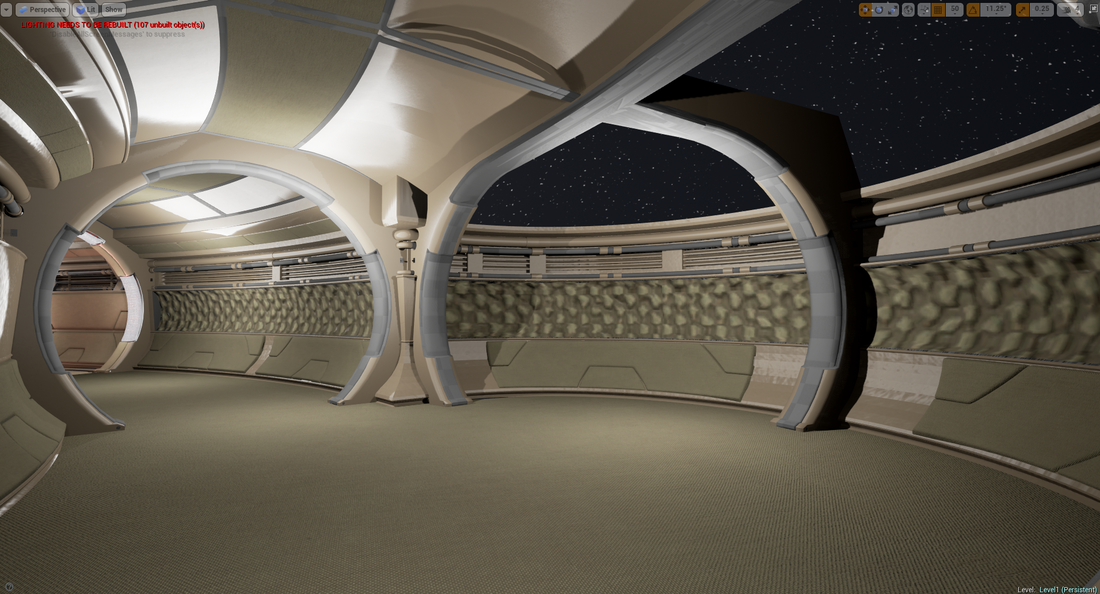
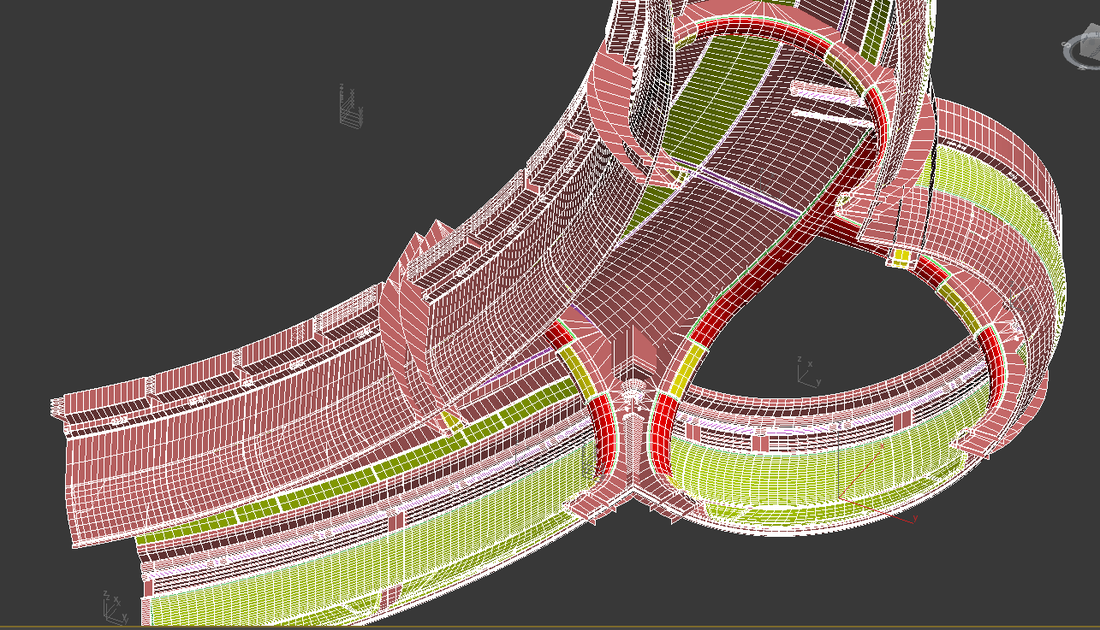
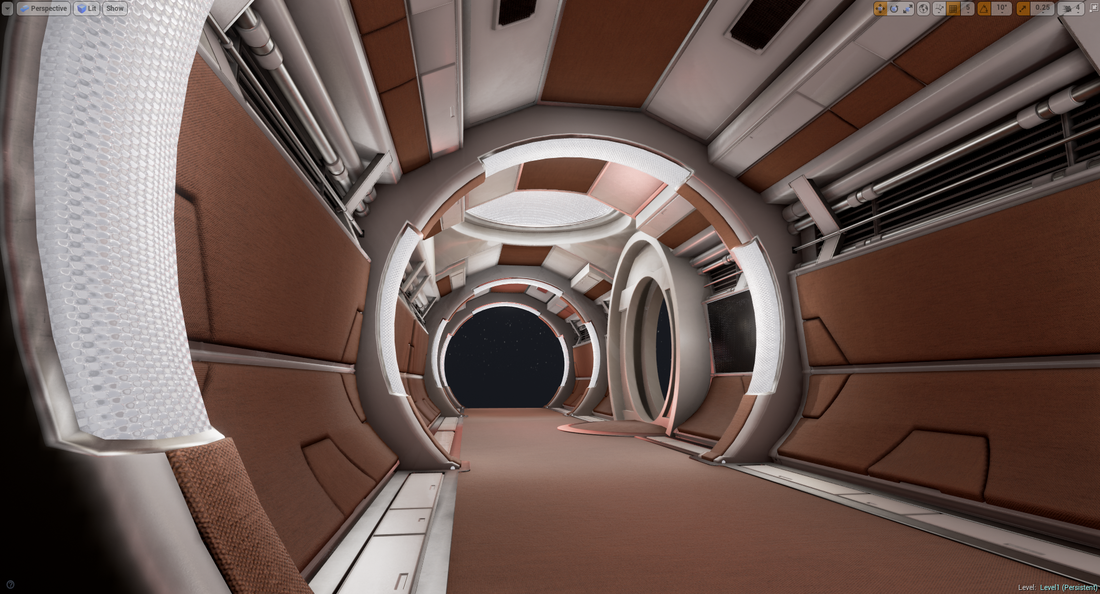
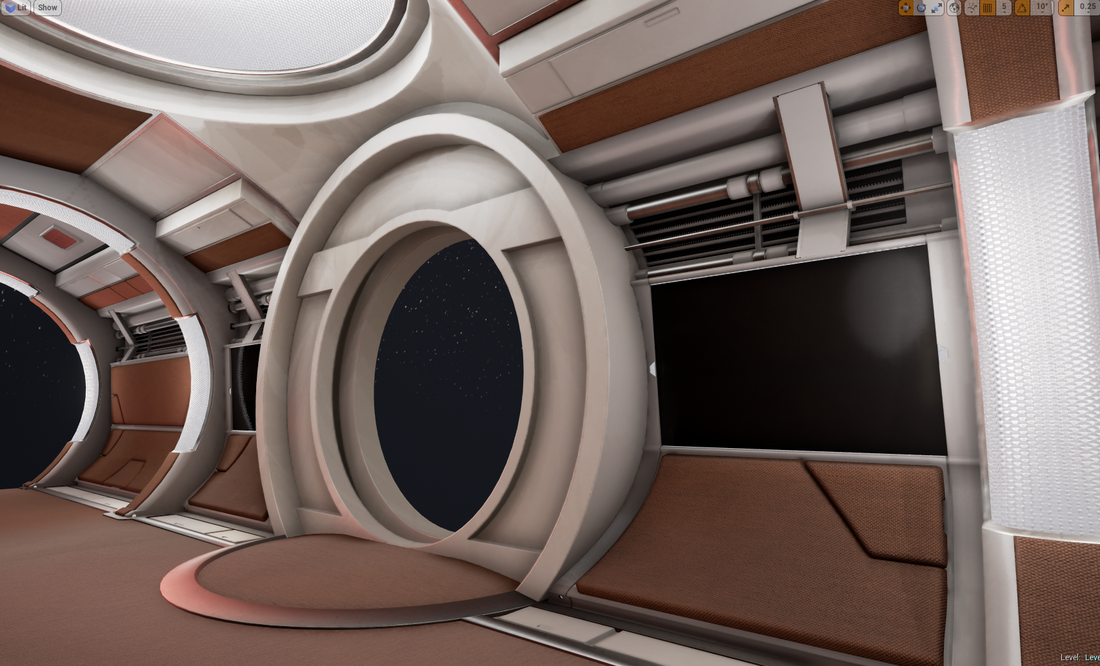
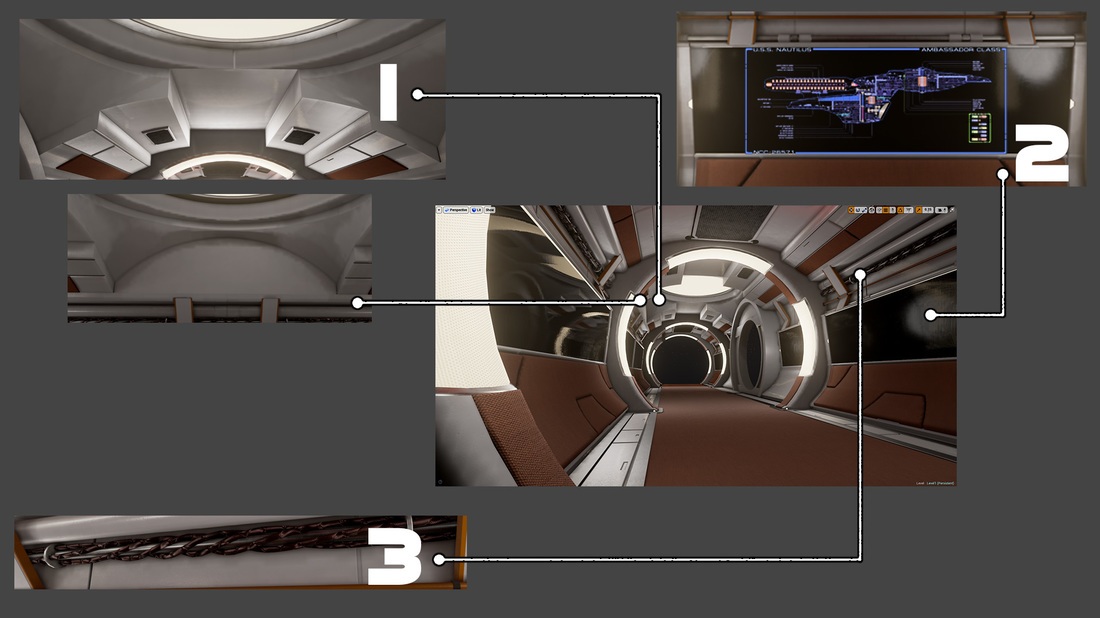
I'm going to leave this project now for a week or so as I'm too busy with other things to work on it, but I will post again with the final environment in a couple of weeks :) I decided to spend the day focusing on the weakest part of the environment - the dome curve section. After creating some benches and a table to fill out the area I thought it would be interesting to make the table display a holographic image of the station this is set on. This gives me a focal point and allows me to bring in some interesting lighting. The hologram itself is very simple. I have just modelled what I wanted and then added a material with panning and overlapping sine waves over it. It has taken quite a bit of experimentation to get to this point but I'm pretty happy with it: Textures and MaterialsToday is theoretically the last day of this build. Realistically I think I need 2 more days to get this to a point that I'd be happy to show it in my portfolio, making 12 days in total. Anyway, poor time estimations aside, today I'm concentrating on materials and textures. I want to add some wear and tear to the environment. I'm going to be making most of my materials in Substance Designer. I'm not really going to talk too much about that in this blog as there are plenty of tutorials out there. You can see from the screenshots though that I am revamping these materials as I go and adding some general dirt to them. What I do want to talk a bit about is my processes for adding hand placed detail into the environment. Remember I am using (mostly) tiling textures throughout this environment, so adding edge wear isn't as simple as painting it into the prop. The first thing I've done is used decals to add stickers, text and grime to the environment. One reason that I like this decal method is the flexibility it gives. For example, I can have a sticker in the top left of a locker, and the bottom right of another locker. If I was texturing in 0-1 space and painting the stickers into the texture, then these lockers would probably share UV's and have the sticker always in the same place. It would also mean that if I mirrored the asset then the sticker would be backwards. Later on I will probably add more decals with normal maps to add things like little panels and bolts. Here's an example of some placed decals: 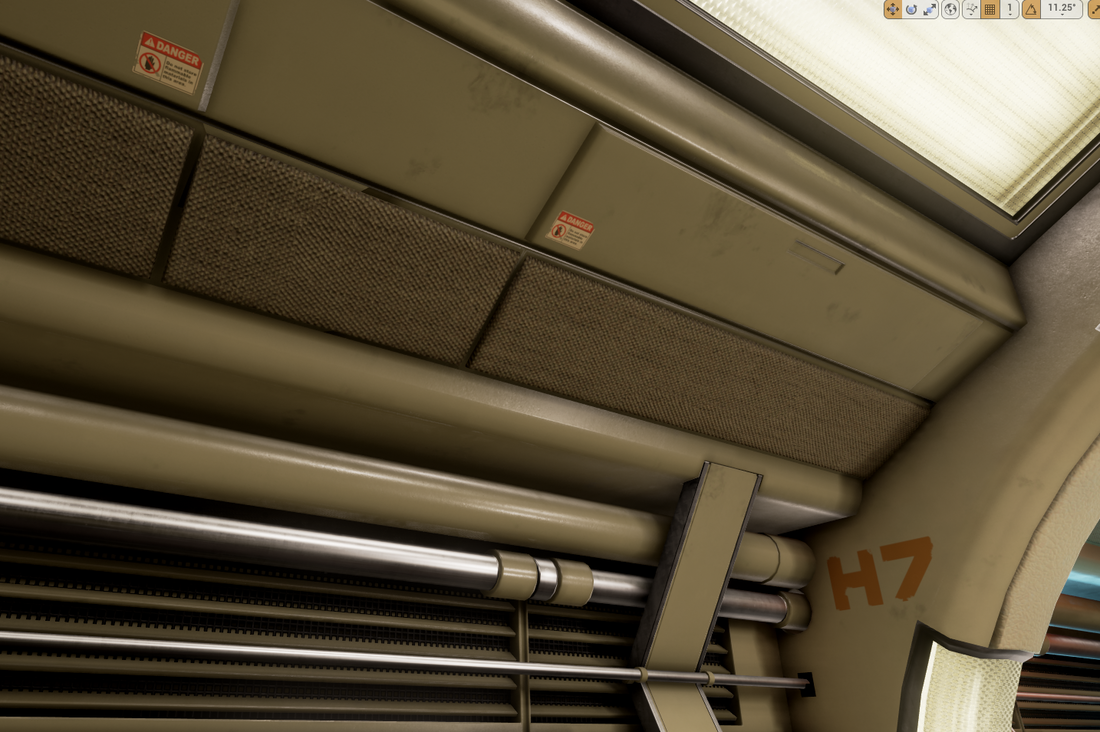 The 2 'danger' stickers and the 'H7' text are decals The main other methods I'm using are vertex painting and painting with masks. I'll come onto painting with masks later, but for now here's a breakdown of my vertex painted carpet material: Lighting BreakdownAdding textures to the lightsOne of the first things I wanted to do was improve the look of my lights. To do this I've added some simple textures to them to give the impression that there are bulbs and fluorescent tubes inside. Scroll through the images below to see a breakdown of how this was done
|